Migration Instructions
Region Ten Post-Migration Device Configuration Guide
Following the migration to the M365 Commercial Tenant, it will be necessary to use the Quest tool to reconfigure your device.
Kindly adhere to the instructions below to complete the configuration process and restore access to your M365 applications and data as usual.
If you need assistance, please call the helpdesk at 434-972-1814.
Note: If the migration tool cannot find the configuration, you can update the configuration yourself. Click the carrot by the clock, click the HELP bubble and click Fix Quest Tool. Then try tool again.
Step 1: Close all M365 applications to allow the device to be configured properly.
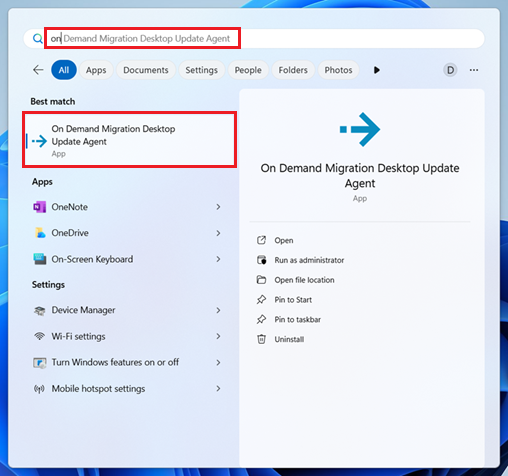
Step 2: Access the “On Demand Migration” tool on your device. Click on Start, type “on demand” and click the application On Demand Migration Desktop Update Agent.
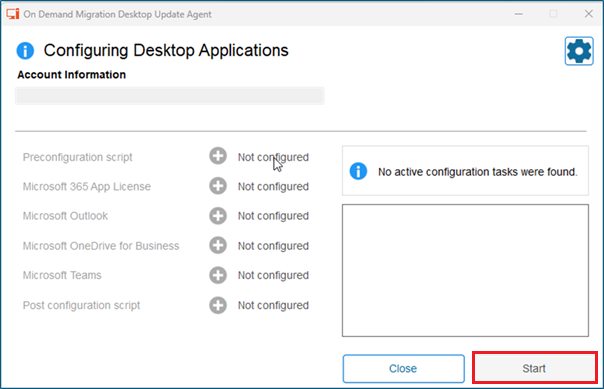
Step 3: Once the tool has launched, select Start to begin the configuration process.
Step 4: The configuration status will display as In Progress.

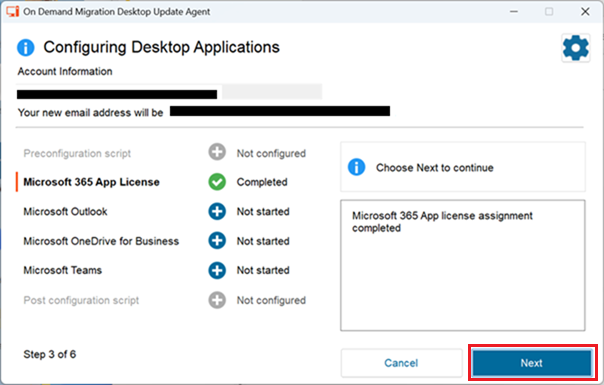
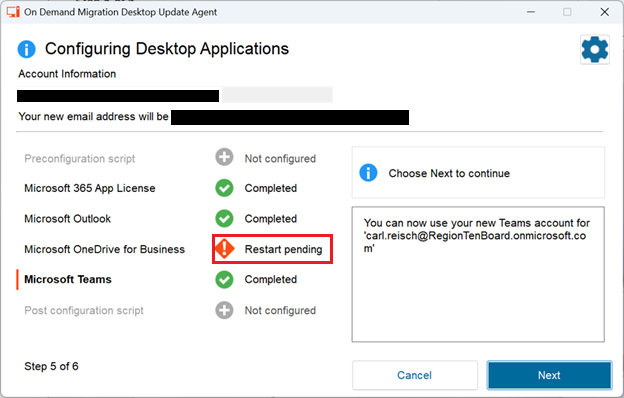
Step 5: Some processes may require approximately 30 minutes to complete. As one step completes, click Next to move on to the next.
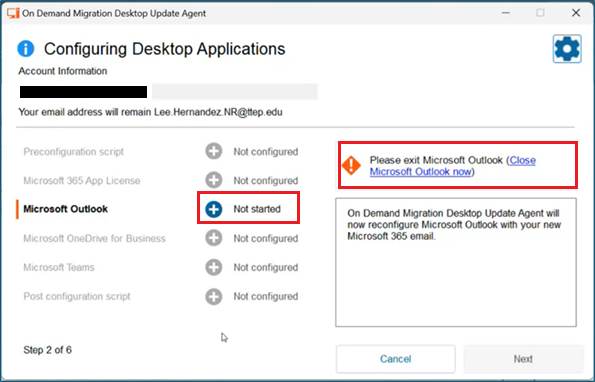
Step 6: If an application is not closed, you will be presented with a “Not started” status. Click the link next to the orange ! to close the application.
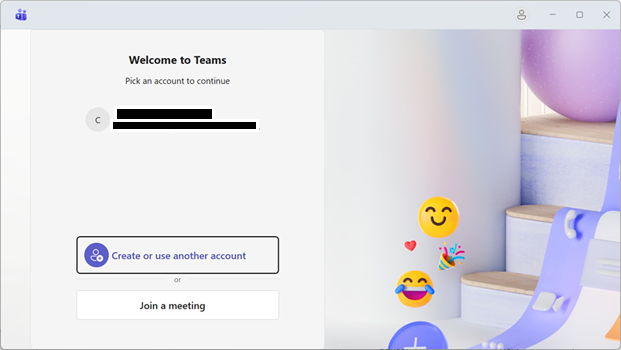
Step 7: As the configuration of an application completes, the application may start automatically. Login with your e-mail address and password. You will have to do multi factor authentication.
If you have not set up multifactor authentication on the new tenant yet, the process will walk you through setting it up.
Before you set it up, delete the entry for the old account. It will cause confusion later if you do not.
See instructions for Multi Factor Authentication below.
Step 8: An application may not be able to complete without restarting the computer.
Step 9: If a restart is needed, the tool will prompt when all the other applications are complete. Click Restart Now.

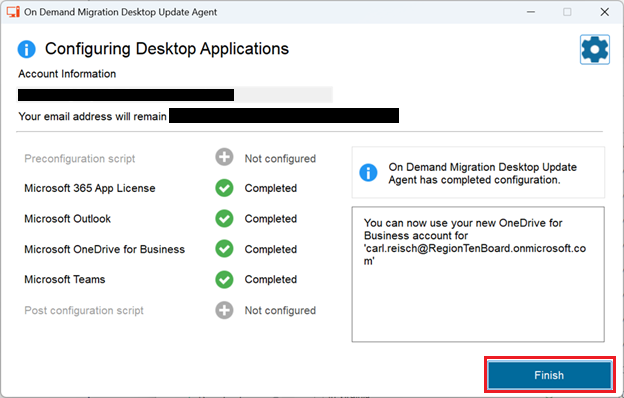
Step 10: After all applications are configured, click Finish. The tool may ask to reboot. At this point the local Microsft applications should be configured to point to the new tenant and you should be back in business.
If you encounter this screen, please select Yes.

Instructions to Set Up the New Tenant e-Mail
Set Up Outlook on the Web from a Computer
- Open Outlook on the Web, https://outlook.office.com. It will open in the old tenant.
- Click on your picture or initials in the upper right corner and choose logout.
- Close the browser when advised.
- Open Outlook on the Web again, https://outlook.office.com.
- Login with your e-mail address and password.
- It will want to set up multi factor authentication. It’s a new account.
- On the screen click Next three times.
- A QR code should display.
- Add the account to the authenticator app on your phone by scanning the code. See below for help.
- If prompted enter the number on the screen in the authenticator app.
- Click Done.
- You may have to authenticate again.
- At this point you should be in your mail on the Web
Set Up Multi Factor Authentication
- Open the Authenticator app on your phone.
- Remove the old MFA account for the old tenant.
- Select (touch) the old Microsoft account.
- Select the gear icon for Settings.
- At the bottom select Remove Account.
- Choose All Apps.
- There may be a few confirmation screens. Proceed through them.
- Add the new account.
- Select the + to add an account.
- Choose QR code.
- Scan the code on the screen.
Outlook on Your Phone
- Open Outlook.
- Delete the old account. (Messages will still be on the server. You will not lose data.)
- Touch your picture or initial in the upper left corner.
- Touch the gear icon at the lower left.
- Touch Accounts.
- Touch Microsoft 365.
- Scroll to the bottom and choose Remove.
- Choose OK.
- Close Outlook.
- Add the new account.
- Open Outlook.
- Choose Add Account.
- Enter your e-mail address.
- Touch Add Account.
- Enter your password.
- Choose Sign in.
- Enter your multi factor code.
- Select Maybe later.